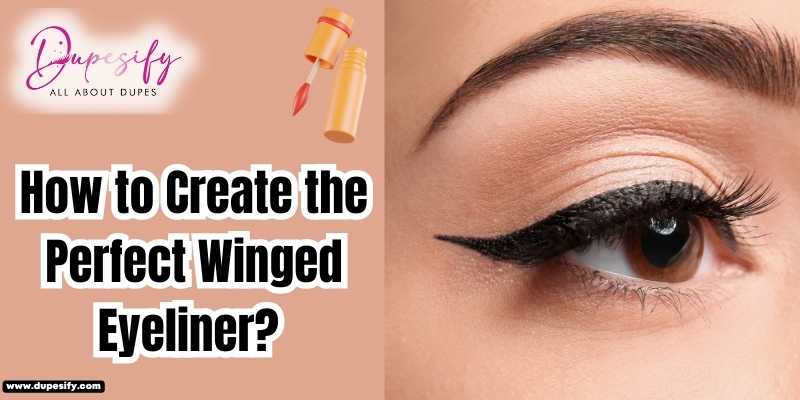
As a beauty expert, I know that mastering the art of winged eyeliner can be a bit intimidating for many women. Whether you’re going for a classic cat eye or a more dramatic wing.If you are one of those who do not know How to create the perfect winged eyeliner? Then this is the right place for you.
You don’t need to worry, there are some tricks and techniques that can help you create the perfect winged eyeliner every time. We cover everything that you need for creating the perfect winged eyeliner.
In this article, I’ll be sharing my top tips for creating the perfect winged eyeliner, along with step-by-step instructions to help you achieve the look you want. So, let’s get started!
Steps to Create the Perfect Winged Eyeliner
Here we will discuss briefly and provide you with exact information to the question, “ How to create the perfect winged eyeliner”. In the end, I hope you will get the benefit.
Step 1: Choose the Right Eyeliner
Before you start creating your winged eyeliner, it’s important to choose the right type of eyeliner. There are several different types of eyeliners available on the market, including pencil, gel, liquid, and felt-tip pens.
For a precise and clean wing, I recommend using liquid eyeliner or a felt-tip pen. These types of eyeliners offer more control and precision than pencil or gel liners, making it easier to create a sharp, defined wing.
If you’re new to winged eyeliner, I recommend starting with a felt-tip pen eyeliner as it is easier to control and requires less skill than a liquid liner. Once you’ve mastered the technique, you can move on to liquid eyeliner for a more precise finish.
Why don’t you read How to Create a Dramatic Makeup Look for a Night Out? Expert Tips
Step 2: Prepare Your Eyelids
Before applying eyeliner, it’s important to prep your eyelids. This means ensuring that your eyelids are clean and free from any excess oils or debris. Use a gentle eye makeup remover to remove any makeup or dirt from your eyelids.
Next, apply a thin layer of eye primer or concealer to your eyelids. This will help your eyeliner stay in place and prevent it from smudging or smearing.
Step 3: Start With a Pencil Liner
If you’re new to winged eyeliner, it’s a good idea to start with a pencil liner first. This will help you get a feel for the shape and size of the wing before you commit to a liquid liner.
Using a pencil liner, draw a small line from the outer corner of your eye towards the end of your eyebrow. This will serve as a guide for your wing.
Step 4: Create the Wing
To create the wing, start at the outer corner of your eye and draw a straight line towards the end of the guide you created with the pencil liner. The length of the wing is up to you, but I recommend keeping it proportionate to the size of your eye and the rest of your makeup.
Once you’ve created the initial line, draw a diagonal line from the tip of the wing toward the middle of your eyelid. This will create the classic cat-eye shape.
Next, connect the diagonal line to the upper lash line, creating a triangular shape. Fill in the triangle with eyeliner to complete the wing.
Step 5: Fill in the Rest of Your Eyeliner
After creating the wing, it’s time to fill in the rest of your eyeliner. Start at the inner corner of your eye and draw a thin line along your upper lash line, gradually making it thicker as you reach the outer corner.
Make sure to keep the line as close to your lash line as possible to create a seamless look.
Step 6: Clean Up Any Mistakes
If you make any mistakes while creating your winged eyeliner, don’t worry! Simply dip a cotton swab in makeup remover and gently clean up any smudges or mistakes.
You can read about How to Exfoliate Under Eyes? 3 Gentle Ways
Step 7: Finish With Mascara
Once you’ve created your perfect winged eyeliner, it’s time to finish the look with mascara. Apply a few coats of mascara to your lashes, focusing on the outer corners to help enhance the winged look.
Here is our review guide on 7 Best Makeup Forever HD Foundation Dupes – Ultimate Review
Frequently Asked Questions|(FAQs)
What is the Trick For Winged Eyeliner?
The trick to winged eyeliner is to use a felt-tip pen or liquid liner to create a thin line from the outer corner of your eye towards the end of your eyebrow, then connect it to your upper lash line to create a triangular shape.
How Do You Make Winged Eyeliner For Beginners?
To make winged eyeliner for beginners, start by using a pencil liner to sketch the shape of the wing, then fill it in with a liquid liner. Use short strokes and practice until you achieve the desired look.
What Angle is Best For Winged Eyeliner?
The angle for winged eyeliner should follow the natural shape of your eye and extend toward the end of your eyebrow. It’s best to experiment and find what angle works best for you.
On Which Type of Eyes We Must Apply Winged Eyeliner?
Winged eyeliner can be applied to any type of eye, including almond, hooded, round, and monolid. The technique and angle may vary depending on the shape of the eye.
You may also be interested to read How to Hide a Lazy Eye With Makeup?
Conclusion
Creating the perfect winged eyeliner requires a bit of patience, practice, and the right tools. With the above-mentioned tips and techniques, you’ll be able to master the art of winged eyeliner and achieve the look you want. So, grab your eyeliner and get ready to wing it.
